How to Install

Before you begin

Gather these tools:
  • Pen
  • A battery-powered drill equipped with a Phillips head screw bit.
  • Installation screws are provided, except for non-timber surfaces.
  • Metal tape measure
  • Step ladder
Where do you plan to install your blind?

When handling timber surfaces, it is recommended to pre-drill holes with a 3 mm bit before inserting the supplied self-tapping screws.

MDF surfaces do not require pre-drilling; the included self-tapping screws can be used as is.

The Ramset 3 mm grip hollow wall anchor is beneficial for plaster surfaces. For materials like concrete, stone, brick, or tile, use a masonry drill with the appropriate plugs or anchors, and note that screws are not provided.

Step 1 - Preparing your blinds

Arrange each blind according to its assigned location in the room, being mindful of the side that has the chain and the direction in which it rolls. The window's style and the specified fit should determine how each blind aligns with the window.

To avoid leaving fingerprint marks, ensure your hands are clean when handling the packaging.

Pro tip: Place the blinds on a sheet of plastic wrap to maintain their cleanliness and ensure easy identification, thus reducing the chance of confusion.

Regarding Single Roller Blinds:

Outside Installation

Mounting onto the architrave or wall

Inside Installation

To install blinds, position them inside the window frame.

Regarding Double Roller Blinds:

Exterior Installation of Dual Roller Shades

Installing Dual Roller Blinds on the architrave or wall.

Interior mounting of dual roller blinds.

To install Dual Roller Blinds, position them inside the window frame.

Hybrid installation combines inside and outside mount techniques.

Blinds may be mounted on the architrave or wall, as well as within the window frame. It is crucial to understand that in this setup, a face-fit blind will be larger than a recess-fit blind.

Step 2 - Installing the Brackets

In relation to Single Roller Blinds:

Mounting Brackets for Outside Installation

Bracket Installation for Inside Mount

  • Attach the Chain Drive bracket to the side designated for the chain.
  • Mark the locations for the screw holes with a pencil.
  • If pre-drilling is necessary, proceed to do so, then securely fasten the bracket using screws.
  • Please repeat the installation steps for the Pin End bracket.

Regarding Dual Roller Blinds:

Mounting brackets for top-front external installation.

Mounting brackets for top-front inside installation.

Brackets suitable for combined installation, accommodating both outside and inside mount options.

Step 3 - Placing the blind

Useful Tip:

It is advisable to have assistance when installing larger blinds to ensure they are held in place properly.

The Control Brackets

To roll up the blind, insert it into the Chain Drive bracket, ensuring the covered chain section is properly aligned at the top. Misalignment may lead to winding problems and possible damage.

Idle End Bracket

Insert the Idle End of the blind firmly into the Pin End bracket until a click is heard, signifying that it is securely fastened.

Helpful Tips and Troubleshooting

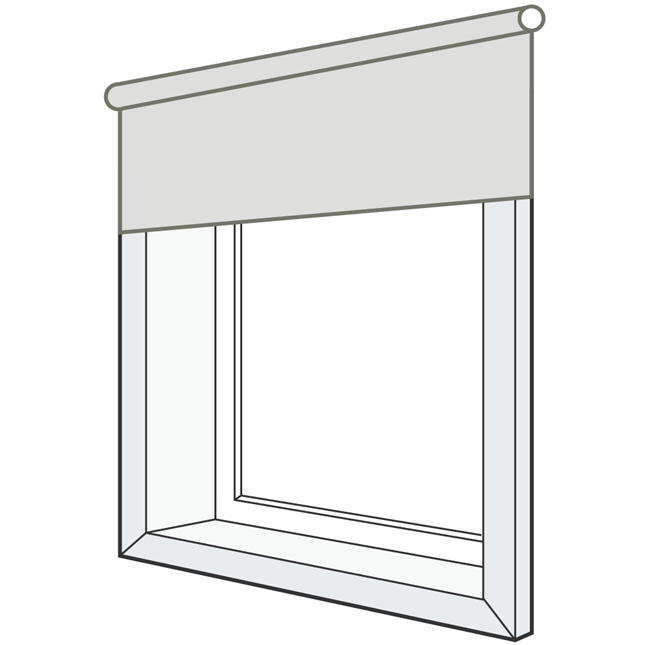
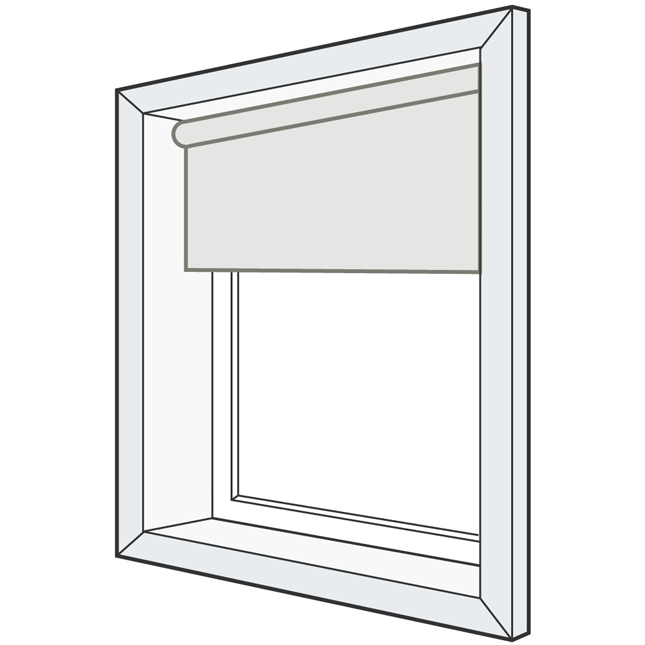
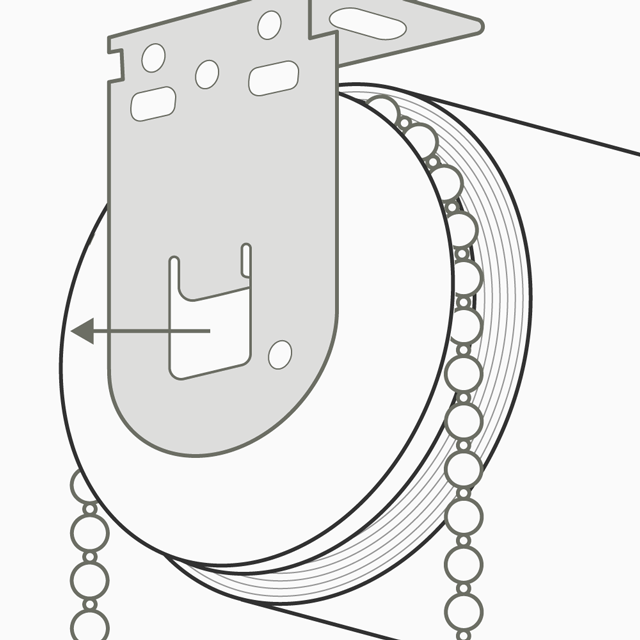
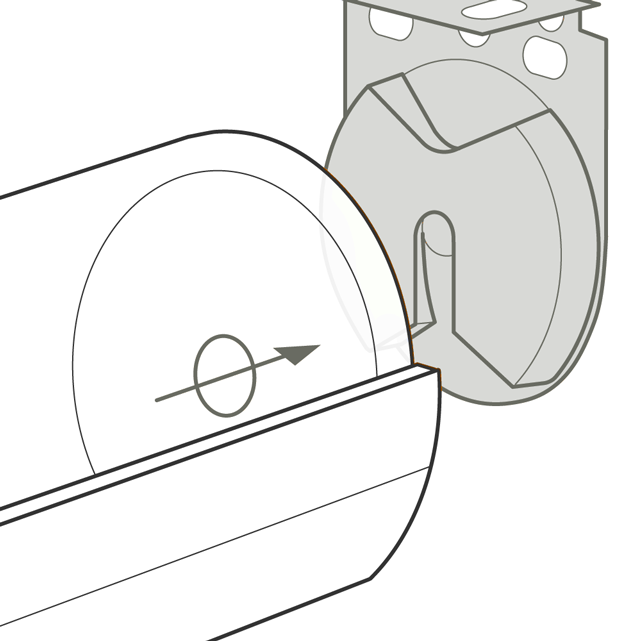
Pin ends offer adjustable flexibility to accommodate sizing discrepancies in roller blinds. By turning the transparent plastic cog, the pin can be extended incrementally by 1mm, up to a maximum extension of 8mm.

Step 5 - Installing the Child-Safe Cord Tensioner

Important Notice: To comply with Australian Child Safety Laws, it is mandatory to install a cord tensioner when the chain is less than 1.6 meters from the floor, minimizing the risk of strangulation.

  • Place the tension device at the bottom of the chain loop, either inside or in front of the window frame.
  • Place the tension device in an area that is out of children's reach.
  • Make sure the chain is not overly tight, allowing 20-30 mm of slack to avoid strain.

Helpful Tips and Troubleshooting

Identifying the Issue: Addressing Operational Challenges and Resolving Clunking Noises from Blinds.

Problem: The blind is If the blind is positioned incorrectly in the Chain Drive bracket, the solution is to revisit Step 3, "Placing the Blind," and ensure that the blind is correctly inserted. Inspect the end cap to confirm that it hasn't been twisted out of position. Proper alignment and placement of the blind in the Chain Drive bracket should resolve the issue.

The tracking direction of my blinds is incorrect.

Roll up the blind and attach a 100 mm strip of masking tape to the aluminum tube, ensuring it aligns with the desired direction of the blind's roll. If necessary, add more layers of tape to ensure an even roll-up. If the issue persists, please contact us for further assistance.

What's the most effective method for cleaning my blinds?

A damp cloth may be used, but it is crucial not to scrub excessively to prevent damage to the blackout coating. Curious about the optimal method for spotless blinds? Baby wipes are our go-to solution!

I've noticed a curve in my blind. How can I fix it?

The material of the blinds may become bent during shipping or if left stationary for an extended period. Fortunately, this problem usually rectifies itself over time.

Order Summary